OLED Display 0.96 inch 128x64 with SPI interface Arduino Library 35V

Guide For I2C OLED Display With Arduino Trassat.de
In this Arduino OLED display tutorial, I will show you how to connect an OLED display with an Arduino and draw common shapes on it. How to draw custom graphics, scrolling text on the display, etc. Table of Contents [ show] OLED Display
Arduino How to Use 1.3 Inch OLED Display SH1106 Visuino Visual
Guide for I2C OLED Display with Arduino This article shows how to use the SSD1306 0.96 inch I2C OLED display with the Arduino. We'll show you some features of the OLED display, how to connect it to the Arduino board, and how to write text, draw shapes and display bitmap images.
ssd1306 oled arduino arduino oled library Kellydli
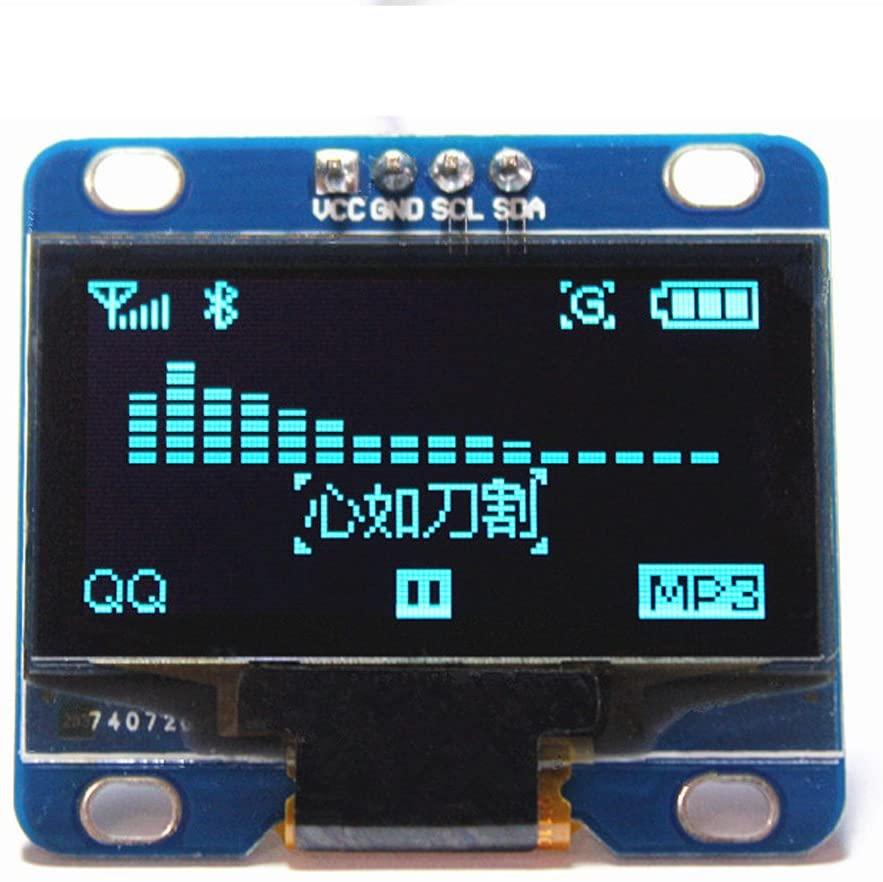
An organic light-emitting diode (OLED) is a high-contrast and high-resolution display, making it easy for users to be readable. This kind of displays doesn't have a backlight and create the backlight themselves and this makes them sharper, clearer and smoother than LCDs.

Setting up an OLED Screen with Arduino and SPI by Alice Wang Medium
Step 1: Watch the Video! Ask Question Step 2: Connections! First thing we need to do is complete the connections. Connections are very simple, just 4 wires, SCL, SDA, VCC and GND. We just have to connect SCL to SDA and SDA to SCL of Arduino and power pins to VCC and ground of Arduino. Connections for OLED to Arduino Vcc - 5V Gnd - Gnd SDA - SDA
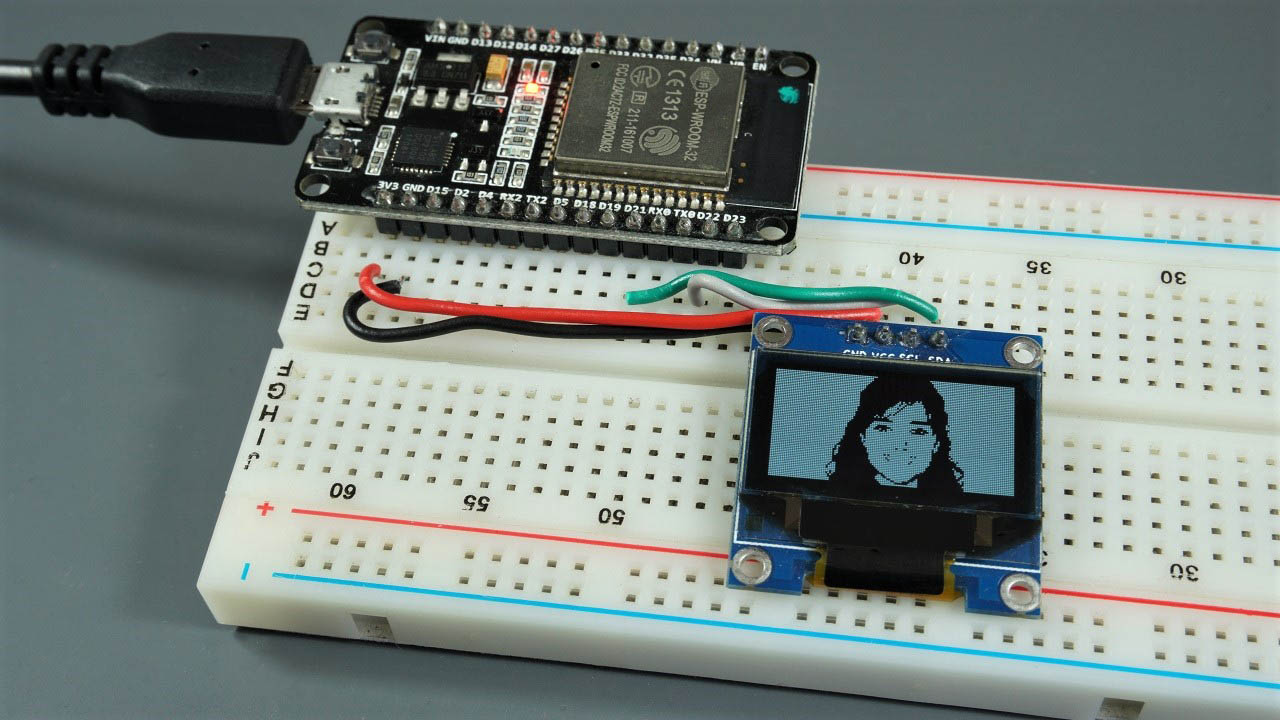
ESP32 OLED Display with Arduino IDE Random Nerd Tutorials
Step 1: Watch the Video arduino oled i2c tutorial : 0.96" 128 X 32 for beginners Watch on Ask Question Step 2: Gather the Material for this Tutorial, we will require only 3 things. 1. 0.96" OLED Display https://www.gearbest.com/diy-parts-components/pp_1. 2. Arduino Uno / Nano : https://www.gearbest.com/development-boards/pp_629. 3.

Oled Display With Arduino Tutorial Arduino Arduino Display Tutorial Images
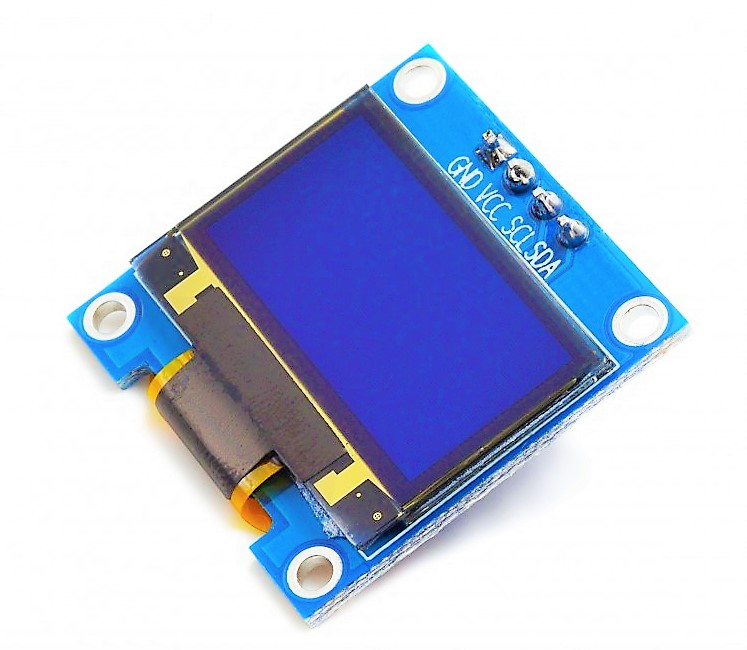
Recommended Reading: Monochrome 0.96" OLED Display SSD1306 OLED Pinout. There are four pins in this display. Imprinted as VCC, GND, SCL, and SDA respectively. The VCC and GND pins will power the OLED display and will be connected with the Arduino power supply pins as they require a driving voltage of 3.3-5V.

Arduino OLED 128x64 Display from eBay China The Nerdy Talk
OLED Memory Map In order to control the display, it is crucial to understand the memory map of the OLED display. Regardless of the size of the OLED display, the SSD1306 driver includes a 1KB Graphic Display Data RAM (GDDRAM) that stores the bit pattern to be displayed on the screen. This 1 KB memory area is divided into 8 pages (from 0 to 7).

OLED display module, Noritake OLED module + Arduino UNO Diy tech
OLED (Organic Light Emitting Diode) displays have a lot of advantages over LCD and traditional LED displays. Today we will learn how to use OLED displays wit.

Arduino OLED Display Tutorial and Library
For all of the different kinds of small OLED monochrome displays, you'll need to install the Arduino libraries. The code we have is for any kind of Arduino, if you're using a different microcontroller, the code is pretty simple to adapt, the interface we use is basic bit-twiddling SPI or I2C Install Arduino Libraries

Cómo usar una pantalla OLED con Arduino Bugeados
You may like this in-depth guide on OLED interfacing with Arduino: OLED Display Interfacing with Arduino - Display Text, Draw shapes and Images; Schematic - OLED with Arduino and DHT11/DHT22. This section shows how to connect an Arduino board with a DHT22 sensor and an OLED display. Connect the DHT22 to Arduino along with a 10K ohm pull-up.

OLED screen Arduino LoRa IoT online tutorial
Step 1: Connect Arduino I2C pins to OLED display pins as mentioned in the below table. Then connect Vcc and ground pins. Step 2: Interface the potentiometer pin to the A0 pin of Arduino Uno, connect Vcc to +5V, and make common ground. That's it, and you have completed the interfacing process.
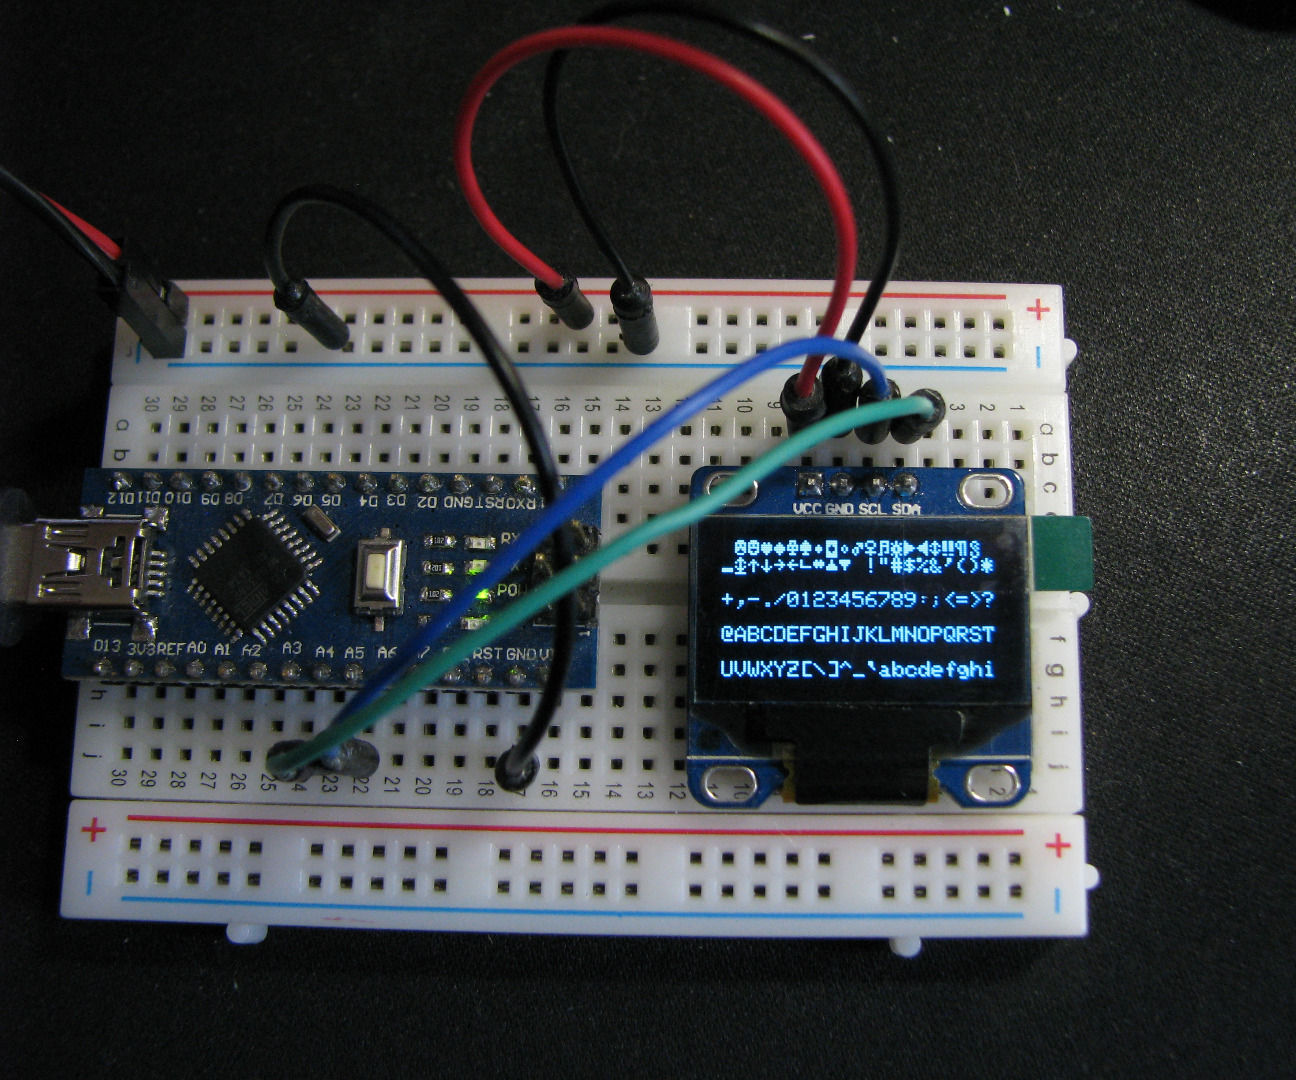
OLED I2c Display With Arduino 4 Steps Instructables
1. Open your Arduino IDE and go to Sketch > Include Library > Manage Libraries. The Library Manager should open. 2. Type " SSD1306 " in the search box and install the SSD1306 library from Adafruit. 3. After installing the SSD1306 library from Adafruit, type " GFX " in the search box and install the library. 4.

DIY OLED display mounted with buttons and xbee Arduino, Electronics
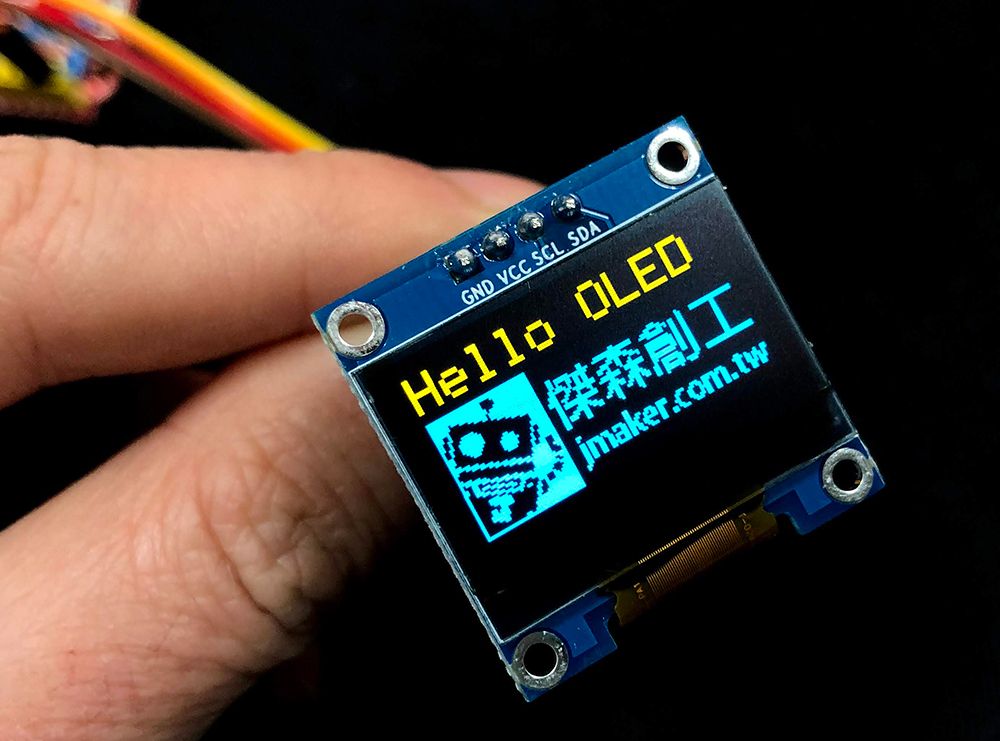
The OLED has four interfacing pins: the VCC, GND, SDA, and SCL. Connect the VCC and GND pins with Arduino's +5 V and GND pins. This provides power to the display. Next, connect the SDA and SCL pins with Arduino's A4 (SDA) and A5 (SCL) pins for data communication. The Arduino board requires a USB power supply (from a computer).
OLED w/ Arduino How to Display Text, Image & Animation on OLED
Home Tutorials Arduino - OLED The OLED (Organic Light-Emitting Diode) display is an alternative for LCD display. The OLED is super-light, almost paper-thin, flexible, and produce a brighter and crisper picture. In this tutorial, we are going to learn: How to use OLED display with Arduino. How to display text, number on OLED using Arduino

Arduino OLED 128x64 Display from eBay China The Nerdy Talk
OLED OLED stands for Organic Light Emitting Diode. The OLED displays are very small and have high resolution. These displays have no back light and they makes their own light. That's why these are very low power devices. Working When the voltage is applied to the OLED.
OLED Display Features
In this tutorial I will show you how to use an OLED Display with Arduino. There are several types of displays available in the market, namely: LCD (Liquid Crystal Display), LED, OLED (Organic LED) and eInk display. LCD and OLED are the most common ones. In this post we will learn how to use OLED display with Arduino. Let's begin.
